How to Crochet Bikinis: Step by Step Guide!
Thanks to some of the world’s most popular swimwear designers, crochet bikinis are one of the trendiest items to add to your summer wardrobe.
Rather than spend hundreds of dollars on a department store crochet bikini, if you’ve got a flair for DIY and know some crochet basics, you can create your own crochet bikini in just a few hours.
What’s the best way to crochet a bikini for your next pool party?
Start by choosing a simple crochet bikini pattern, then gather the right yarn and materials.
Our step-by-step guide below will walk you through some basic tips to crochet bikini tops and bottoms the right way, followed by some links to easy patterns to get you started.
Lastly, you’ll find some tips from experienced crocheters to help ensure your bikini project is a success.
Basic Steps to Crochet a Bikini
Before you begin, here is an outline of the basic steps you should follow to successfully crochet a bikini:
- Start by choosing a pattern.
- Learn how to choose the best type of yarn for making bikinis.
- Identify the right crochet hook.
- Crochet the bikini top.
- Crochet the bikini bottom.
- Add lining fabrics and embellishments.
Follow these basic steps and you’ll be ready for a day at the beach or a stylish poolside party.
How to Choose a Bikini Pattern

The type of bikini pattern you choose will depend on your experience with crochet, your style preference, and potentially what type of bikini will look best on your body shape.
If this is your first time crocheting, you may want to consider some other basic patterns (see related questions) to help you get the hang of basic crochet stitches.
If you’ve got some experience with clothing patterns, then start by searching for bikini patterns marked beginner or easy.
These will include simpler stitches and crochet abbreviations to help you learn the process.
Parts of a Crochet Bikini
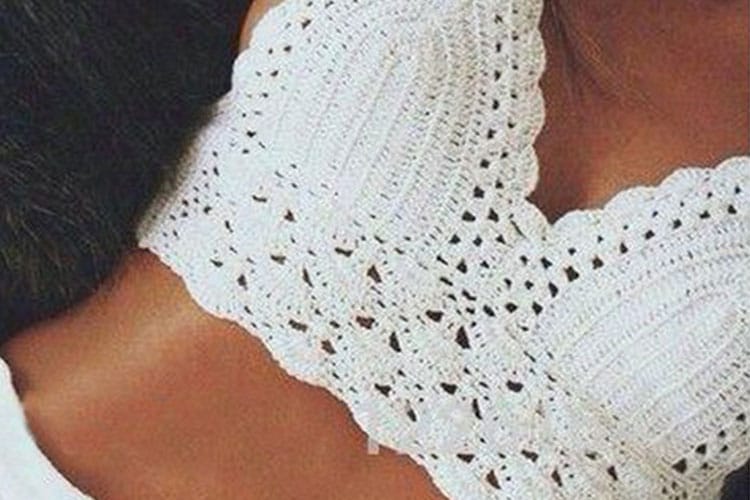
In general, basic crochet bikini patterns will have you craft the following parts for the bikini top: 1) Crochet bikini cups.
Most times the bikini cups are worked center of the cup outward.
2) Attach cups together.
3) Add upper straps.
4) Add lower straps.
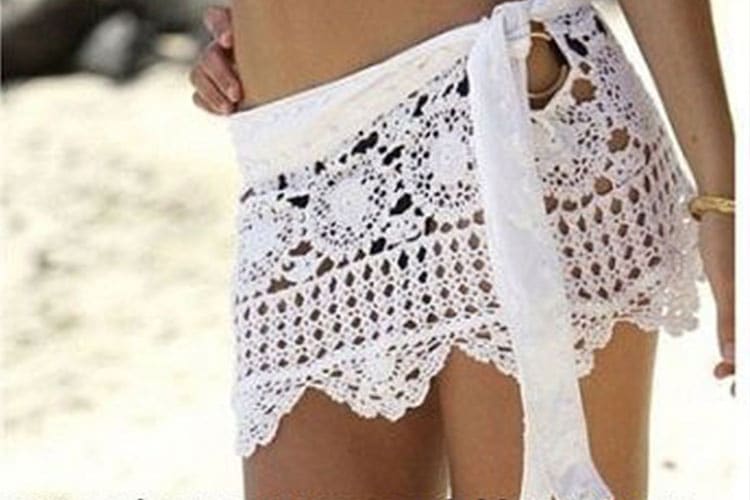
For the bikini bottoms, most patterns recommend you crochet the bottom in one large piece and either sew seams up the sides or create cord ties to join the bottoms together.
Patterns may also include lace borders, using multiple colors of yarn, adding embroidery details, or sewing in a piece of lining fabric.
All of these steps add complexity to your project.
Be sure you read the pattern completely and understand all of the skills you’ll need to assemble your bikini before you choose the pattern.
Best Stitches for Crochet Bikinis
While there’s no one-size-fits-all crochet pattern, in general, there are some suggestions about what crochet stitches work the best for bikini patterns.
A simple search will find that single crochet, double crochet, and half-double crochet are the most common stitches in patterns for bikini tops and bottoms.
Partly, that’s because they are the most common of all crochet stitches and versatile in many different garments.
Single and double crochet stitches also create durable, non-stretchy fabrics which can be important to make sure your bikini fits properly.
However, you may also find bikini tops and bottoms that have a combination of stitches.
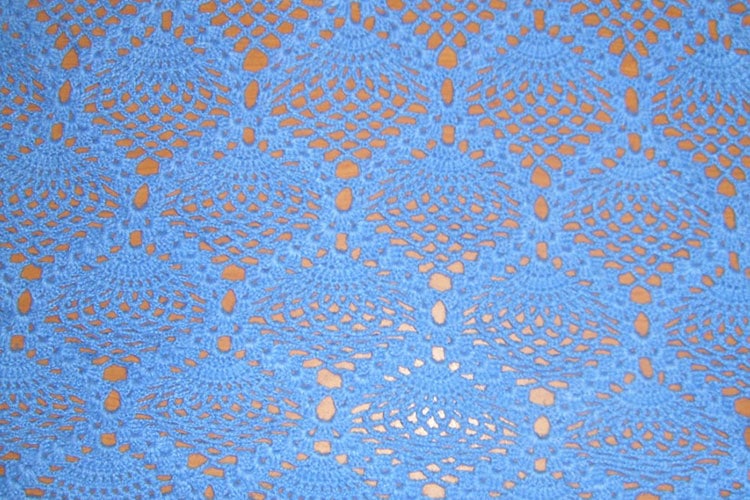
Patterns may use single and double crochet for parts of the bikini that require full coverage, but then lacy, more open crochet stitches for the borders and straps of the bikini.
Just know that the more open spaces there are in the garment, the more likely it will be to stretch and difficult to drape properly once you wear it.
Sizing Information
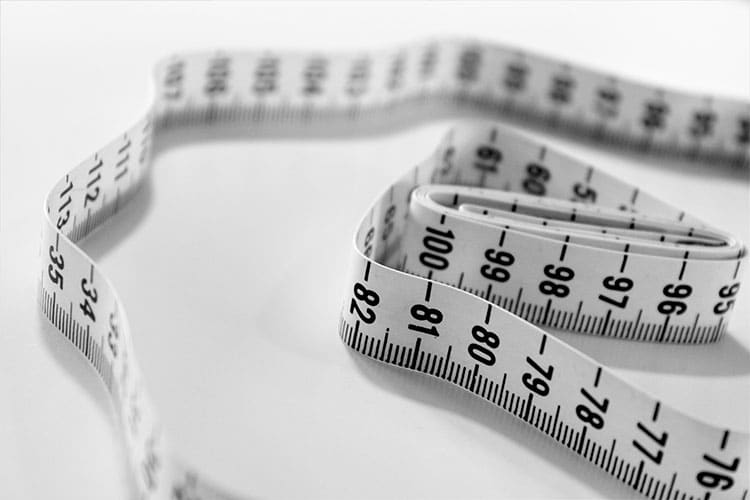
Perhaps the most important thing to consider when crocheting a bikini top and bottom is sizing.
All high quality crochet patterns should include sizing information to help you get the best fit possible for your body.
Clothing items can take some practice to get the sizing information correctly, so make sure you follow the instructions carefully.
The American Craft Yarn Council puts out standard garment size charts that should be used in all professionally manufactured bikini patterns (those found on yarn bands, crochet books, or from online yarn retailers).
Start by researching these charts to determine what dimensions you’ll need to select for the waist, hips, chest, and cups of the bikini.
If the bikini pattern does not come with sizing recommendations, you may want to consider an alternative pattern until you’re comfortable making several bikinis.
Otherwise, you can also take measurements from a well-fitting bikini you already own and use those to help guide your sizing choices.
One final note about sizing: once you determine what size of the pattern you’ll use, it’s recommended to take a few minutes to re-write the crochet pattern down on a fresh sheet of paper or re-type the instructions.
That way if you happen to pause in the middle of your project or get distracted easily when crocheting, you won’t accidentally come back to the pattern and use the wrong sizing guidelines.
Choosing a Yarn for Crochet Bikinis
There are a few things you’ll want to consider before you choose a yarn to crochet your bikini with.
First, do you intend to wear the bikini in water or just use it poolside?
If you intend to wear the bikini in the water, you’ll want to consider some different options for yarn.
The same thing applies if you intend to wash and wear the bikini over and over again.
Different yarns hold up to repeated washing differently.
Depending on what you intend to do with the bikini will give you the best idea of what yarn to choose.
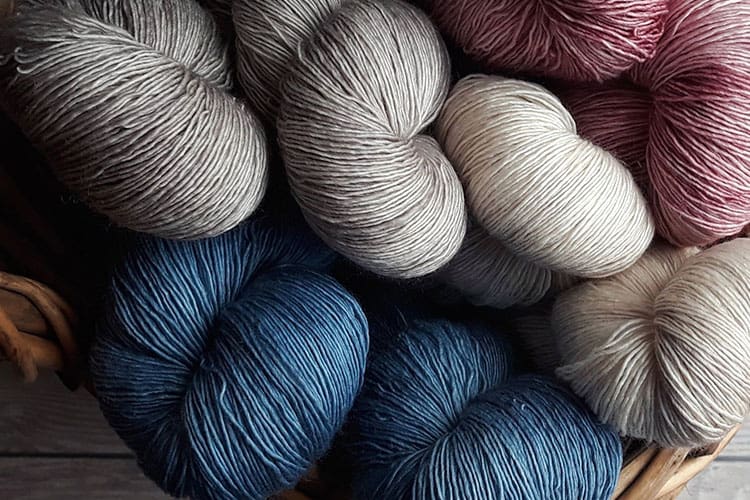
Best Yarn Materials – Yarns come in many different fiber choices.
For swimwear, you’ll want to choose a yarn that is durable and not likely to stretch.
Crochet cotton is a good choice for making bikinis because it’s durable and not subject to stretching.
Bamboo is another good choice for yarn since the natural fibers are hypoallergenic and have a soft feel against delicate skin.
Best Yarn for Washing – Natural fibers like cotton and bamboo may not be the best choice if you plan to repeatedly wear the bikini in water, particularly in harsh conditions like chlorine or saltwater.
In those cases, it’s better to choose a synthetic yarn like acrylic.
The dyes tend to be a bit more colorfast in these fibers.
When choosing acrylic or synthetic yarns, also choose a fine, tight yarn that will stand up to repeated washings and the potential of stretching the finished fabric in washing.
Many patterns for bikinis call for attaching a fabric lining to the finished pattern (see Other Tools below).
By adding in a swimwear fabric you can continue with natural fibers like cotton and bamboo without any issues.
Finally, if you intend to wear your bikini in the water, make sure that you complete a washing before you wear it for the first time.
It will ensure that any remaining dye in the yarn comes out in your hand-washing rather than comes out on your body at the pool.
Choosing a Crochet Hook
Once you identify a bikini pattern, complete your sizing requirements, and choose your yarn it’s time to select a crochet hook.
If you are using the exact same yarn as noted in the pattern, start by selecting the same hook size as recommended in the pattern.
If you’ve changed the yarn from the pattern, you may also need to change the hook size.
In that case, it’s best to crochet bikinis with smaller sized hooks to create tighter fabrics that are less likely to stretch.
Either way, before you begin you’ll need to check your gauge.
Why Checking Your Gauge is Important when Crocheting Bikinis
If this is the first clothing item you’ve crocheted or if it’s been a while since you’ve crocheted a garment, it’s important to highlight the importance of checking your gauge.
When it comes to crocheting clothing items (especially one where sizing is so important), it’s best to start by checking that your gauge matches the pattern instructions.
If your gauge is too loose, your bikini tops and bottoms will be too large and fit sloppy.
If your gauge is too tight, the tops and bottoms will be too small.
Either way, you risk not having the right amount of coverage you planned for at the pool.
Finally, as noted above, not all yarns stretch and wear the same while they are wet.
We recommend that if you intend to get your bikini tops and bottoms wet, that you wash your gauge swatch first and make sure the yarn keeps its shape when it’s wet.
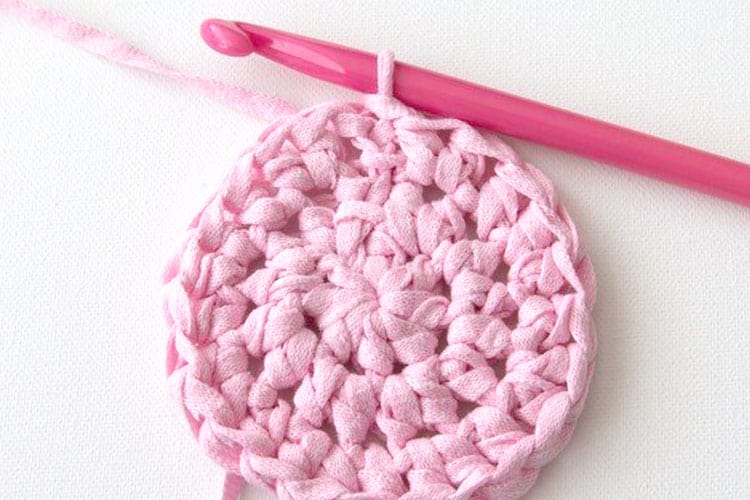
How to Check Crochet Gauge
To check crochet gauge you’ll need to start with a gauge swatch.
A gauge swatch will help you determine the total number of stitches you need to create to make a specific length and width of finished crocheted fabric.
Typically made in a square, a gauge swatch will make sure that you use the exact size crochet hook required by your bikini pattern.
The basic process of creating a crochet gauge swatch is as follows:
Create a chain equal to the size swatch recommended in the pattern.
Working with the crochet stitch you selected in the bikini pattern, complete enough rows to make a square.
Complete the swatch, then place it on a flat surface.
Count the total number of rows and the total number of stitches and then average that to determine how many stitches are required for each inch of crochet.
You can also create gauge swatches in centimeters, just convert to determine how many crochet stitches are required per centimeter.
If you complete your gauge swatch and the fabric sample doesn’t have the exact appearance you desire or doesn’t match the gauge recommendations in the bikini pattern, you may need to make adjustments.
Increasing or decreasing the size of the crochet hook can dramatically change the appearance of a finished fabric swatch.
If your gauge swatch is too loose, switch to a different crochet stitch or try a smaller hook size.
If your gauge is too tight, adjust the stitch tension or switch to a larger crochet hook.
You may also need to adjust the type of yarn for the project to get the appearance you desire.
Other Tools for Crocheting Bikinis
Before you begin crocheting, read through the entire pattern.
There may be additional materials you need to gather before crocheting the bikini. Some materials that are common in bikini patterns:
Fabric Lining – Many crochet patterns call for the finished tops and bottoms to be lined with a swimwear fabric like Lycra or Spandex.
By adding a lining, you’re helping to create a sturdier finished product that’s better able to withstand the elements of sunshine and repeated washing.
In addition, if the crochet bikini stretches a bit when wet, a fabric lining can prevent any embarrassing ‘wardrobe malfunctions’ around the pool.
When choosing a fabric lining, select a fabric that’s designed for swimwear (ask at your local fabric store for the section with swimwear fabrics).
Then select a fabric that’s identical in color to your main yarn color.
The goal is for the lining fabric to blend in and not distract from your finished crochet stitches.
Crochet Stitch Markers – Crochet stitch markers are used in patterns like bikinis that require a specific amount of stitches in a row or require you to increase and decrease stitches in multiple spots in the pattern.
Crochet markers are also helpful if you’re frequently interrupted while crocheting or you need to set aside the bikini for a few weeks or months before finishing the project.
Tapestry Needle – You may also need a tapestry needle for your crochet bikini project.
Tapestry needles are frequently used in crochet project for additional needlework tasks like sewing a seam (e.g. sewing up the sides of the bikini bottom), weaving in ends and yarn tails, and adding embroidered decorations (e.g. stitching on flowers or adding a contrasting color border to the bikini top).
Tapestry needles come in different sizes but have a larger eye on the needle to thread through the yarn. You may also find them sold as darning needles or yarn needles.
Cord Materials – Some bikini tops call to crochet bikini cups, but then to use a separate material for the straps.
Cord materials are threaded through a ‘tunnel’ shaped area on the top or bottom of the bikini cups to tie around the body.
Cord materials can be purchased from your local fabric store.
Just check that the material is safe for use in chlorinated or saltwater.
Other Tips for Crochet Bikini Beginners
Once you’ve gathered your materials and checked your gauge, it’s time to start making the bikini.
As you learn to crochet garments, you’ll find it can take some patience and practice to get the finished product with the exact sizing and professional look.
Here are some tips that can help you be more successful as you learn this fun new type of pattern:
- Read the pattern instructions completely before you begin. There are some techniques in crochet bikini patterns that you may be less familiar with or may need to research online. Make sure you understand what each of the crochet abbreviations mean and how to complete the stitch before you begin. If you need to make modifications, consider re-writing the pattern on a separate sheet of paper so that you don’t have to remember where you made adjustments.
- Ask a friend to help take measurements or measure from an existing bikini. It can be difficult to accurately take measurements of your own bikini size, especially if you’re using the old-fashioned garment tape. Ask a friend to help take the measurements for your body or use an existing bikini that you know fits comfortably to measure the size of cups and bottoms.
- Ask for help from a more experienced crocheter. Sometimes getting the advice from a more experienced crafter can make all the difference in your DIY project. The same applies to crochet, especially when learning to make a specialty item like bikinis. Ask around at your yarn supply store, check out online forums, or join a crochet meet up group to get some good advice about making socks.
- Use crochet stitch markers. Anytime you are increasing and decreasing a lot of stitches, you may want to consider using crochet stitch markers or a crochet row counter. Both tools can help you keep track of key places.
- Practice and persist! As with any new technique, it may take you some time to get the hang of crocheting that perfect beach-worthy bikini. Even though they are small projects, you may need to practice a few tops or bottoms before you get the same product you might find in a department store. Thankfully, bikinis work up quickly and don’t take a lot of yarn to create. Keep practicing and persist until you get the final product you’re looking for!
How to Care for Your Crochet Swimsuit
Once you’ve finished your crochet bikini, there are some care instructions that will help your finished product last much longer.
If you’ve made the bikini as a gift, be sure to attach the care instructions to the project so your recipient also knows how to care for her bikini.
Bikini Care Instructions – When you are finished swimming, remove the bikini and immediately rinse it out in the sink with cold water.
Press out as much of the water as you can with a towel.
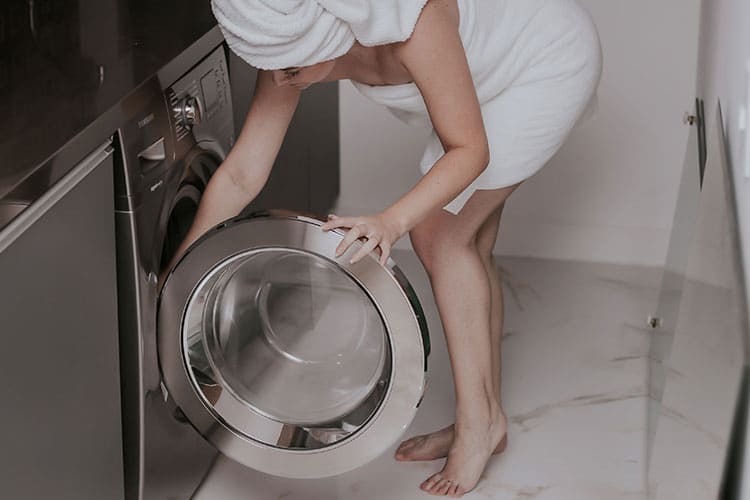
Never put a crochet bikini in an automatic swimsuit dryer like you might find at a gym or competition pool.
Then lay the bikini flat across a drying rack. Avoid hanging it when it’s wet or it may stretch.
If you decide to launder your bikini, Always hand wash bikinis only.
Use cold water and a very mild detergent.
Try baby detergent in a small washtub in the sink.
Washing in a washing machine will stretch the bikini out of shape.
Easy Patterns for Crochet Bikinis
8 Bikini Patterns for You To Try
Hooked on Tilly’s Crochet Bikini Top – This simple bikini top works up quickly and can easily be modified to include special details like lace, beads and different color yarn.
Girlie’s Crochet Bea Bikini Top – Perfect with a pair of cutoff shorts, this pattern for a bikini top is a casual and simple pattern for beginners. The pattern includes step-by-step instructions for how to form the bikini top (working from the inside of the cup outward) and then how to attach the straps. At the end, the pattern calls for a simple, scalloped edging to add around the top and bottom of the bikini top.
Sassy Summer Bikini – This pattern from Yarnutopia is perfect for beginners. It uses a simple stitch pattern for both the top and bottom of the bikini. If you have questions about sizing or shaping any of the pieces, the pattern has a corresponding video.
Bandeau and Boy Shorts – If you’re looking for a different style of bikini rather than the traditional string tops and bottoms, try this pattern for a bandeau style top and boy shorts bottom. The bandeau top is made with a scallop pattern and crocheted in the round. The bottoms are made in a similar way with additions of a lacy border waistband. It’s a complex pattern but would be a great challenge for any intermediate to experienced crocheter.
Peek-A-Book Halter Crochet Top – If you’re looking for a bit more coverage or a different style for your bikini top, consider this pattern for a crochet halter bikini top. Both parts of the top are made on one foundation row and using single crochet stitches work up quickly. Straps are added for the neck and back along with a lace middle. The halter top pattern can be made in single color or with two-tone yarns to create fun poolside look.
Gleeful Things’ Sand Dollar Bikini Top – This pattern works DK weight yarn into a bikini top with a cute ruffle or fringe bottom details. The pattern also includes some detailed instructions about how to line a bikini top with swimwear lining and the sewing skills required to do that.
Crochet Swimsuit – If you’d like a bit more tummy coverage on your bikini, consider this one-piece modified bikini that includes a decorative lace crocheted between the top and bottom. The tops and bottoms are made using a standard tie bikini pattern and then the lace panel is added separately.
Strawberry Bikini – If you’re looking for a bikini for a baby or toddler, this strawberry bikini patter from Crochet Atelier is the perfect pattern for your next project. The swimsuit top and bottom are made with adorable strawberry details (red top and green bottoms). The added strawberry blossom embroidery and bobbles attached to the swimsuit will make sure your little one has the best poolside style.
Related Questions

Can you crochet a swimsuit cover-up?
Once you’re done with crocheting that cute bikini, consider crocheting a matching swimsuit cover-up. These simple dress, tunic, and shawl patterns work up quickly and are some of the easiest patterns for beginners. They are meant to fit loosely, and often worked in one piece. Given many swimsuit cover-ups have large holes meant for a breezy summer flow, you may need to learn some new crochet stitches and techniques like double treble crochet and knowing how to crochet around a post. Crocheting a bikini top and bottom along with a trendy matching cover-up makes the perfect gift for a summertime bachelorette party.
Can you crochet lingerie? If you’ve mastered the skills to crochet a bikini, you may find that crocheting women’s lingerie pieces are another easy and fun project to complete. Crochet lingerie has been popular at different points in fashion history, including the Victorian era and the 1970’s. A simple web search will bring up lots of options for free patterns in hundreds of different styles and sizes.
Lingerie patterns are similar to bikinis in that you’ll create a top and bottom using delicate yarns that are soft against delicate skin. The sizing process for lingerie is very similar to crochet bikinis, so make sure that you use careful measurements or take measurements from lingerie you already own.
What are other easy clothing items to crochet? If you’re just getting started in crochet, there are thousands of different clothing and accessory patterns for beginners to try. Most people learn to crochet with basic items like scarves and shawls. When you’ve mastered those, try moving on to clothing items like hats, beanies and berets. If you’re interested in other clothing items, then consider crocheting sweaters, socks, and dresses for babies or pets. These projects are smaller and work up faster giving you more practice and less risk of wasting a ton of yarn on a full-size garment. After you’ve got some smaller items under your belt, then consider crocheting a bulky sweater or shawl that doesn’t require tight shaping and fitting.